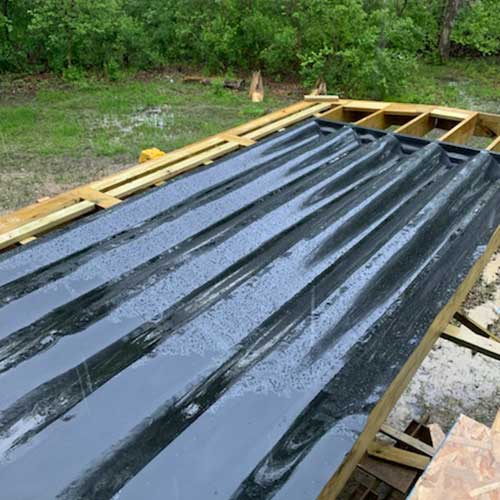
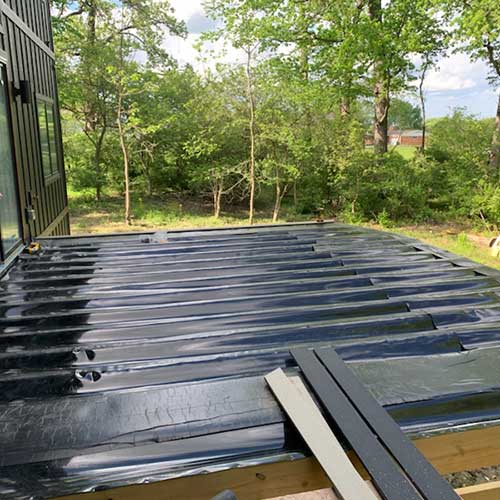
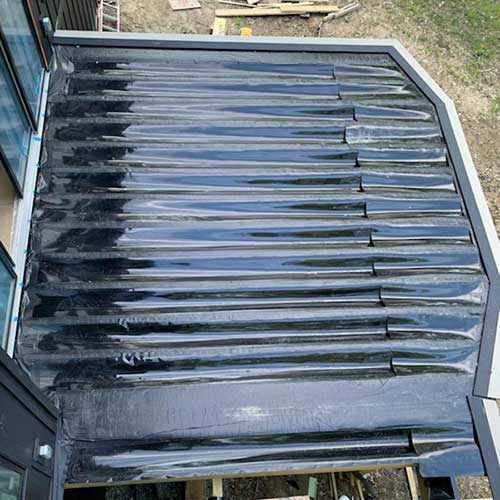
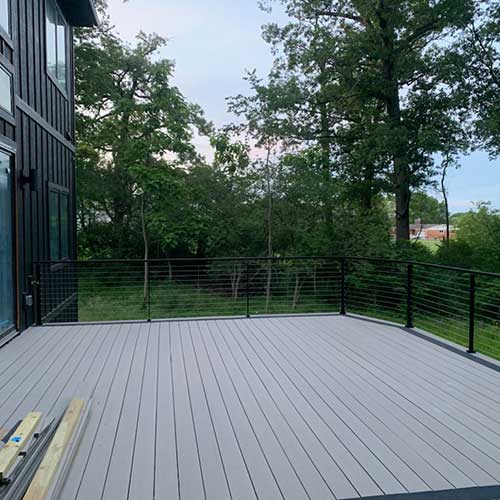
Do It Yourself Waterproof Deck Membrane

$210.41


FREE SHIPPING

Our do-it-yourself waterproof deck membrane is made from high-density polyethylene (HDPE), offering a strong and waterproof solution ideal for various construction and DIY projects. This membrane is designed to resist punctures and tears while maintaining the necessary flexibility to simplify the installation process, even for those new to DIY projects. 

For extensive drainage systems or larger areas, multiple sections of the membrane can be easily overlapped and securely joined using our HDPE double-sided seam tape, which is sold separately, ensuring a reliable and long-lasting waterproof barrier.

Specifications
Material: High-density polyethylene (HDPE), known for its durability and adaptability.
Width Options: Ranges from 18 inches to 48 inches.
Roll Length: Available in 100-foot lengths
Origin: Made in the USA.
Material Thickness: 30 mil = 1/32”

Please Note: The widest rolls that we offer in HDPE are 96” (8ft).

We are also unable to provide custom roll lengths on orders less than 50 rolls.

RELATED PRODUCT:

We also offer rigid HDPE in 48” x 96” sheets in both black and white colors.

View pricing and product info >

HDPE-Sheet-Turn.jpg__PID:113b1035-abb9-4f7f-b449-97922679ac3d

Product Specifics

  • Material: High Density Polyethylene
  • Texture: Smooth
  • Size: Various
  • Free Shipping
  • Need a Written Quote?
    Request Online > 
  • Volume Pricing Available - orders $6,500+
  • Questions? Call (800) 520-7731

HDPE Plastic

  • Waterproof
  • Commercial Grade
  • UV Resistant
  • Non-Biodegradable
  • Will Not Rot or Mildew
  • Resistant to Rodent and Insect Damage
  • 100 Year Material Lifespan
  • Made in the USA

All of our plastics are professional-grade and are designed for use in both residential & commercial applications. Our plastics are designed for years of continuous use in the designated application.

Connecting HDPE Pieces

There are two ways to connect multiple pieces of HDPE together. One method is to overlap the HDPE and use our double sided seam tape to connect the two pieces. The other method is to butt the ends together and use our 17 mil single sided seam tape to create a solid connection.

hdpe-tape_x700__PID:4c8fa401-60db-429d-8466-7ab1567455d417-mil-HDPE-seam-tape-.jpg__PID:d29d8466-7ab1-4674-95d4-6009217cdb46

Overlap Method
(for underground installations)

The overlap method is best used when connecting two pieces of HDPE in a buried application. Due to the overlap, a ridge is exposed which is not ideal when installed in exposed vertical or flat installations in high traffic areas as there is a possibility of an object catching on the ridge and pulling the two pieces apart.

In a below ground installation, the large overlap area provides a more water resistant connection as well as enhanced protection against tree and plant root intrusion.

View Tape Pricing and Seaming Instructions >

End to End Method
(for exposed installations)

When installing HDPE on a wall, floor or anywhere that is exposed, the end to end method provides a secure connection and does not leave any ridges exposed to potential catching by a person or object.

View Tape Pricing and Seaming Instructions >

Shipping

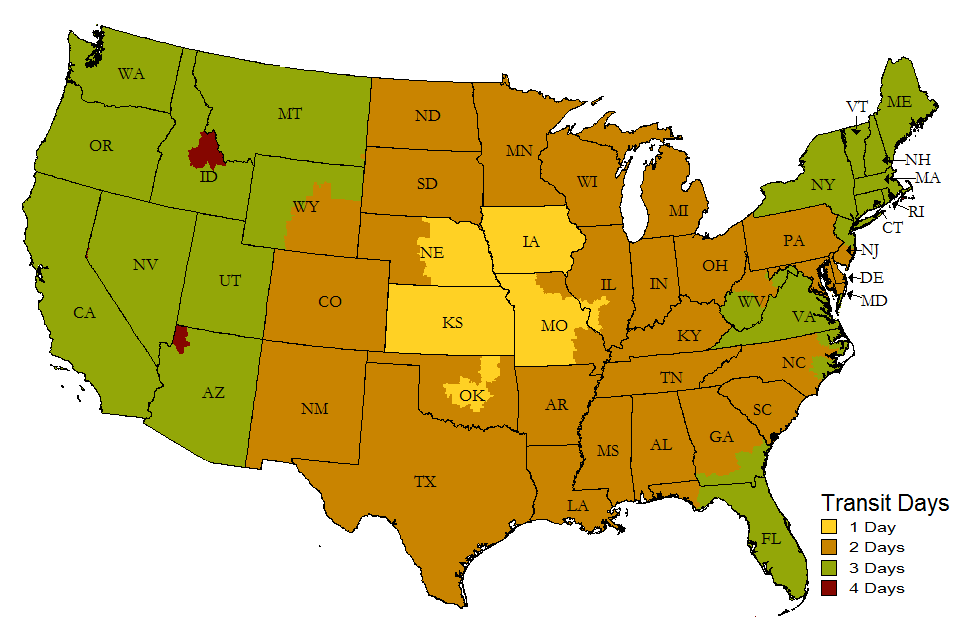
  • All HDPE Ships for Free (standard ground, see map)
  • Expedited shipping only available on orders over $2,000 
         Call: (800) 520-7731 for pricing and ship times

Shipping estimates shown on the map pertain to this specific product only. HDPE orders typically ship same day if the order is placed before 12:00 noon CST. Transit times displayed in the map are listed in business days, and are approximate. Transit times are subject to stock levels at regional warehouses.  The day that the order is shipped is not counted as a transit day.

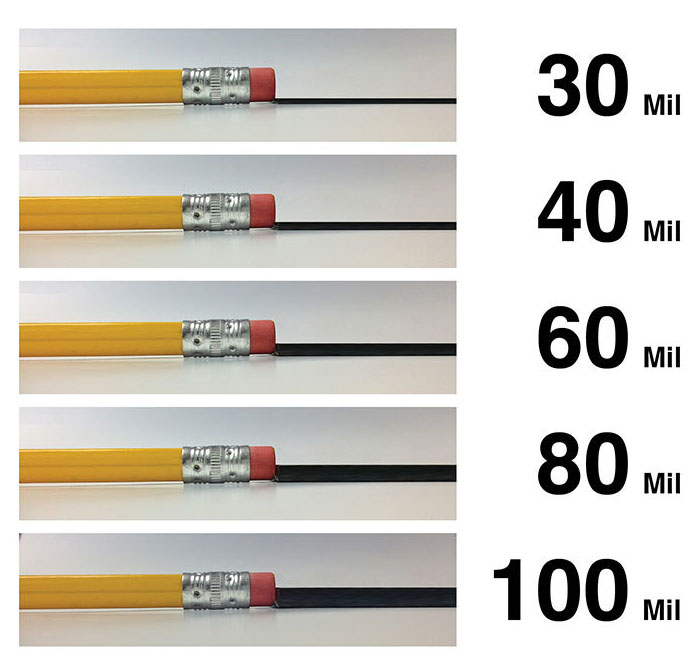
Thickness comparison

The below is a thickness comparison of the material. HDPE plastic thickness is measured in "mils" which is "thousands of an inch".

How to Build a Backyard Deck DIY: Step-by-Step Guide

Building your own backyard deck is one of the most rewarding DIY projects you can take on. A deck adds functional outdoor living space for relaxation, gatherings, and even an outdoor kitchen. Even if you're new to construction projects, building a simple deck can be achievable with the right plan and tools. This guide will take you through the process, from planning to the final finishing touches.

Step 1: Planning and DesignBefore you begin, it's essential to design your deck and understand the scope of the project. Here’s what you should consider:

1.1 Determine the Size and Purpose: Decide how large your deck needs to be based on how you plan to use it. Are you looking for a cozy space for two or a large platform for entertaining guests? Use graph paper or an online design tool to sketch your layout.

1.2 Check Local Building Codes: Most areas require permits for deck construction, so check your local building codes for specifications like deck height, joist spacing, and handrail requirements. Ensure you have the necessary approvals before you start building.

1.3 Choose Your Materials: Select the right materials based on your climate, budget, and aesthetic preferences. Common materials include:

• Pressure-Treated Lumber: A popular and affordable option treated to resist rot and insects.
•Composite Decking: A low-maintenance alternative made from recycled plastic and wood fibers.
• Cedar or Redwood: Naturally resistant to decay and insects but more expensive.

Boards Installed for Decking

Deck Installation

Step 2: Gathering Tools and Materials

Here’s a basic list of tools and materials you’ll need to build your deck:

Tools:• Measuring tape• Carpenter’s square• Level• Circular saw• Power drill• Post hole digger• Hammer• Safety goggles and gloves

Materials:• Pressure-treated lumber or composite decking• Decking screws and nails• Concrete for footings• Joist hangers• Gravel (for drainage)• Posts, beams, and joists (depending on deck design)

Step 3: Prepare the Ground

3.1 Mark Your Layout: Using stakes and string, mark the perimeter of your deck. This will help you visualize the deck's location and ensure your dimensions are correct.

3.2 Dig Holes for Footings: Using a post hole digger, create holes for your deck's footings. The depth will depend on your local code requirements (usually 24-48 inches deep). These footings provide a stable base for the deck’s support posts.

3.3 Pour Concrete Footings: Once the holes are dug, pour concrete into each footing hole. Use a level to ensure the concrete is even and let it cure for at least 24 hours.

Step 4: Install Support Posts and Frame

4.1 Secure the Posts: Place pressure-treated 4x4 posts into the concrete footings once cured. Use metal post anchors to secure the posts. These posts will support the weight of the deck and need to be perfectly level.

4.2 Build the Deck Frame: Construct the frame using pressure-treated 2x8 or 2x10 beams. Attach the beams to the support posts using carriage bolts or metal brackets. Ensure the frame is square by measuring diagonally across the corners.

4.3 Install Joists: Install joists inside the frame, spaced 16 inches apart (or according to your building code). Joist hangers will secure the joists to the beams. These joists will serve as the structural support for your decking boards.

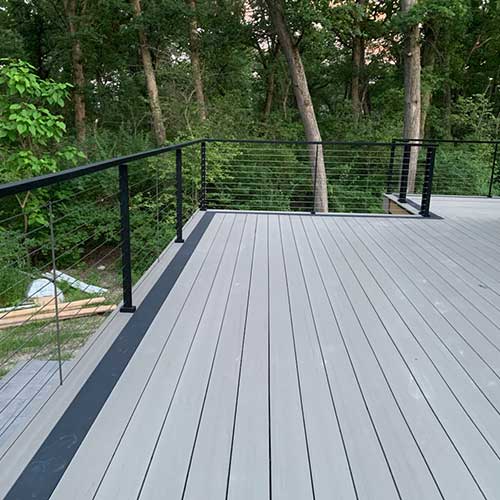
Finished Deck

Finished Backyard Deck

Step 5: Lay the Decking Boards

5.1 Measure and Cut Deck Boards: Measure and cut your decking boards to fit across the joists. If you're using wood boards, leave a small gap (about 1/8 inch) between each board to allow for expansion and drainage.

5.2 Fasten the Decking: Attach the boards to the joists using decking screws or nails. Start at one corner of the deck and work your way across. Be sure to use spacers to maintain even gaps between the boards.

5.3 Trim the Edges: Once all the boards are in place, use a circular saw to trim the edges for a clean, even look. Ensure your cuts are straight and level.

Step 6: Build Railings (Optional): If your deck is more than 30 inches above the ground, you’ll need to install a railing for safety.

6.1 Install Posts for the Railing:
Install posts at the corners and along the edges of your deck where the railing will be placed. Attach the posts securely to the deck frame using lag screws.

6.2 Attach the Top and Bottom Rails: Attach the bottom rail between the posts, making sure it’s level. Then, install the top rail, ensuring it aligns with the posts for a uniform look.

6.3 Install Balusters: Install vertical balusters (or spindles) evenly spaced between the top and bottom rails. This adds both safety and aesthetic appeal to your deck.

Screwing Boards In Deck

DIY Deck Installation

Step 7: Finishing Touches

7.1 Sand and Seal (For Wood Decks): If you’re using natural wood, lightly sand the surface to smooth out any rough spots. Apply a deck sealer or stain to protect the wood from the elements and enhance its appearance.

7.2 Add Accessories: Consider adding features like built-in benches, planter boxes, or lighting to make your deck more functional and inviting.

7.3 Waterproofing (Optional):
For areas prone to heavy rain, consider installing a waterproof deck membrane beneath the deck boards. This helps prevent water from seeping through to the deck frame, prolonging the life of your structure.

Conclusion

Building a backyard deck yourself is a highly rewarding project that adds value to your home and creates a space for relaxation and entertainment. By following this guide and taking your time with each step, you’ll be able to build a sturdy, beautiful deck that you can proudly say you made yourself.

Whether you're a seasoned DIYer or just starting out, with the right tools, materials, and planning, you can transform your backyard into the perfect outdoor retreat. So, gather your materials and get ready to enjoy the satisfaction of building your very own deck!